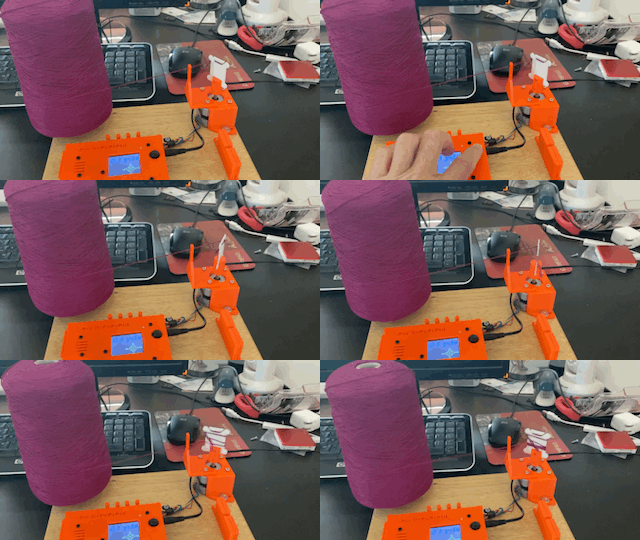
My daughter has a business via which she sells counted-cross-stitch kits, Sew Irreverent. The kits include a pattern and as many as a dozen different colors of floss. When she puts together these kits she needs to measure the amount of floss in each color to include, as well as wind the floss on a bobbin. As you can imagine this can be very time consuming.
She and I got our heads together and came up with the device shown here to facilitate the process. The heart of it is a small computer that allows her to specify how much floss she wants, and then starts and stops a small motor that winds the desired amount of floss onto a bobbin. Here it is in some more detail.
In the upper center of the picture is just a simple guide through which the thread is passed before being attached to the bobbin for winding.
Here is the box that contains the tiny computer that controls the winder motor. In the upper right are the wires coming from the motor that connect to the computer.
This picture shows how the device is controlled. The large black button on the right is actually a little joystick. The diamond shape on the screen is the key for the user as to how to specify the length of floss to wind. The default is 3 yards. Pushing the joystick forward increases that number by 1. Pulling the joystick back decreases by 1. Right increases by 10 and left decreases by 10. Pushing downward on the joystick starts the winding process.
And in this picture the blade is completely inserted, providing a V-shaped slot exposing a small amount of the blade for easy floss cutting but precluding any hand cutting.
The second convenience feature can be seen in the upper left of this picture. It is a tape measure inlaid into the platform to facilitate any quick measurements.
Finally, here is the whole device as I was packing it up to send it to my daughter. In the back right of the device in the picture you can see the cone shaped pieces that take a standard size spool of embroidery floss.
Well, that's it. If you have any questions please post them in the comments.


As always, wonderfully ingenious! Does the little computer need a source of power?
ReplyDeleteYes, there is a "wall wart" transformer that goes along with it.
ReplyDelete