Now, however, the pressure was on. I had to actaully make the headboard to match the bench that I had been talking about. I had enough cherry left over, and enough caning so I did it, and here are the pictures to show you.

I didn't have any 8/4 cherry so I made the posts by doubling the 4/4. These are the posts with mortices for the lower rail.
I cut one of the two 4/4 pieces shorter than the other giving me a way to overlap the upper rail. Here you can see one of the completed posts with a groove cut for one of the panels. You can also see the three stiles with their tenons and grooves cut.

Here's how I made the panels. I used half inch plywood. I glued the caning to one side and cut rabbets along the edges of the other side to fit into the grooves.

Here is the lower rail with tenons and groove cut.

And here you can see one of the mortices in the lower rail, cut to accept the tenon on the stile.

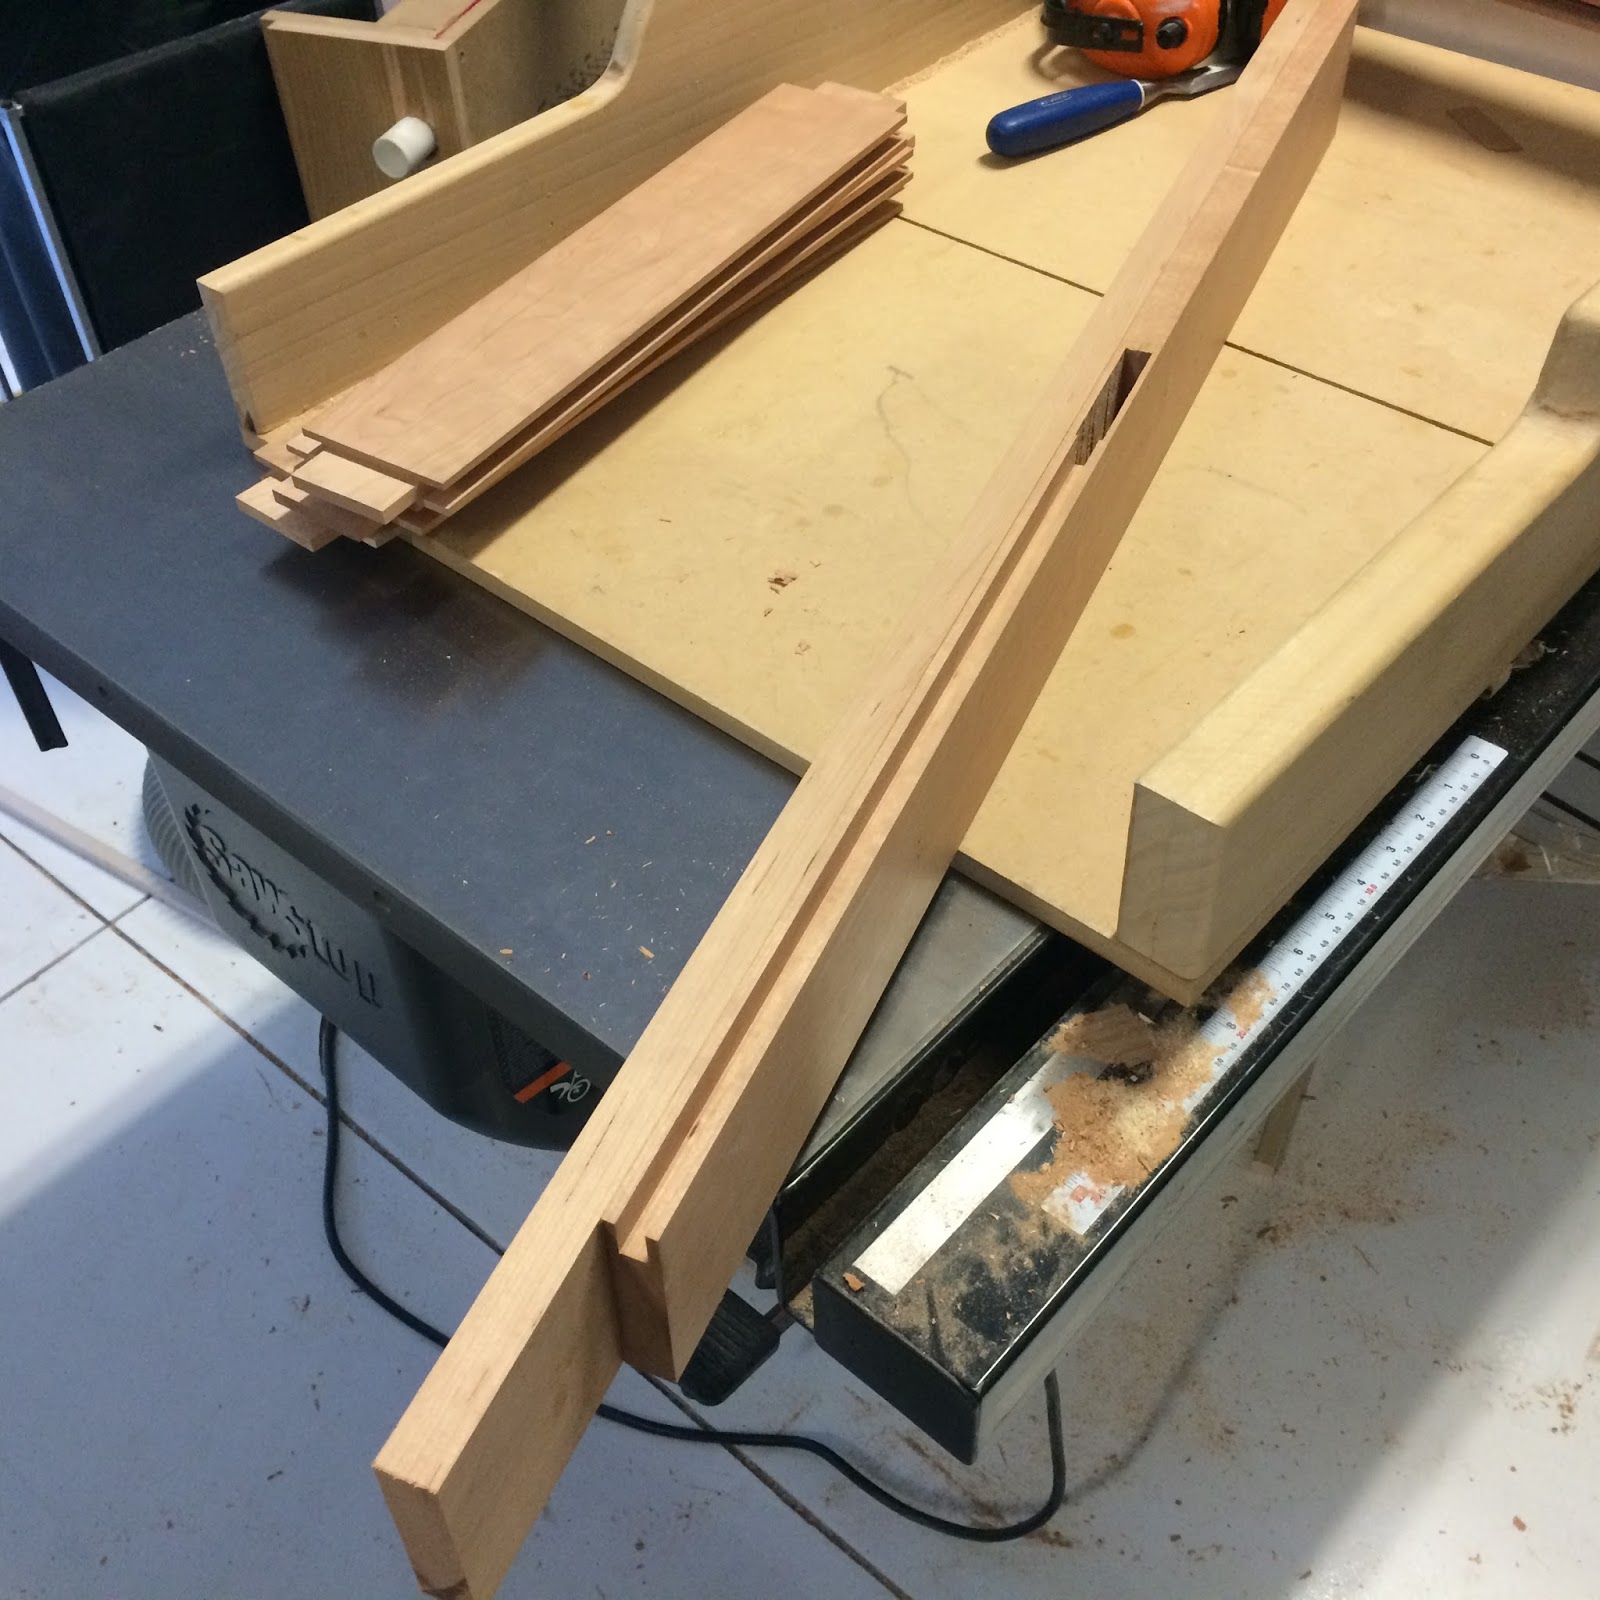
Here are most of the pieces, ready to assemble.

And now the posts, lower rail, and stiles are glued together and ready for the panels to be inserted.

As no good deed goes unpunished I imposed on my friend Jim (who helped me with the Historic Spanish Point benches) to help me glue on the top rail. This glue-up was particularly exciting because we had to get the tenons on the three stiles into the three mortices, while at the same time getting the top rail aligned exactlly with the posts all before the glue dried. You can never have too many hands or too many clamps.

Next I cut grooves to fasten the header to the top rail using biscuits. To the uninitiated, buscuits are oval shaped pieces of compressed wood. When glue is applied to the grooves and the biscuit inserted, it swells and that in combination with the glue hold the joint firmly.

Six coats of polyurethane later and it's ready to go.

Ta-Daa. The finished product, matching bench, and hotel mattress.
No comments:
Post a Comment